Neutral Buoyancy vs Negative Buoyancy ROV Cable: Which One Improves Control?
Control problems offshore often get blamed on the vehicle: “thrusters feel weak,” “station-keeping is messy,” “turns are sloppy,” “we keep touching bottom.” In many jobs, the real culprit is the tether. Buoyancy changes the tether’s shape in the water, and that shape changes what the pilot feels at the controls.
This guide compares neutral buoyancy and negative buoyancy tether behavior from a control standpoint—what improves precision, what reduces risk near structures, and what can backfire in shallow current. It also includes a mission-based selection flow, field trigger cues, and simple verification steps so you can choose with confidence instead of guessing. Throughout, the term ROV Cable is used naturally (3–5 times) because this is ultimately a tether choice with operational consequences.
The control question you’re really answering
“Which buoyancy improves control?” usually means one of these:
-
Do we stop fighting vertical pull? (ROV feels pulled down / needs constant lift thrust)
-
Do we reduce seabed contact and snag risk? (dragging, scuffing, sticking near structures)
-
Do we keep the tether predictable in current? (sweep zone control)
-
Do we avoid loops in shallow water? (rising cable crossings and wrap risk)
Neutral and negative buoyancy both can improve control—just in different missions.
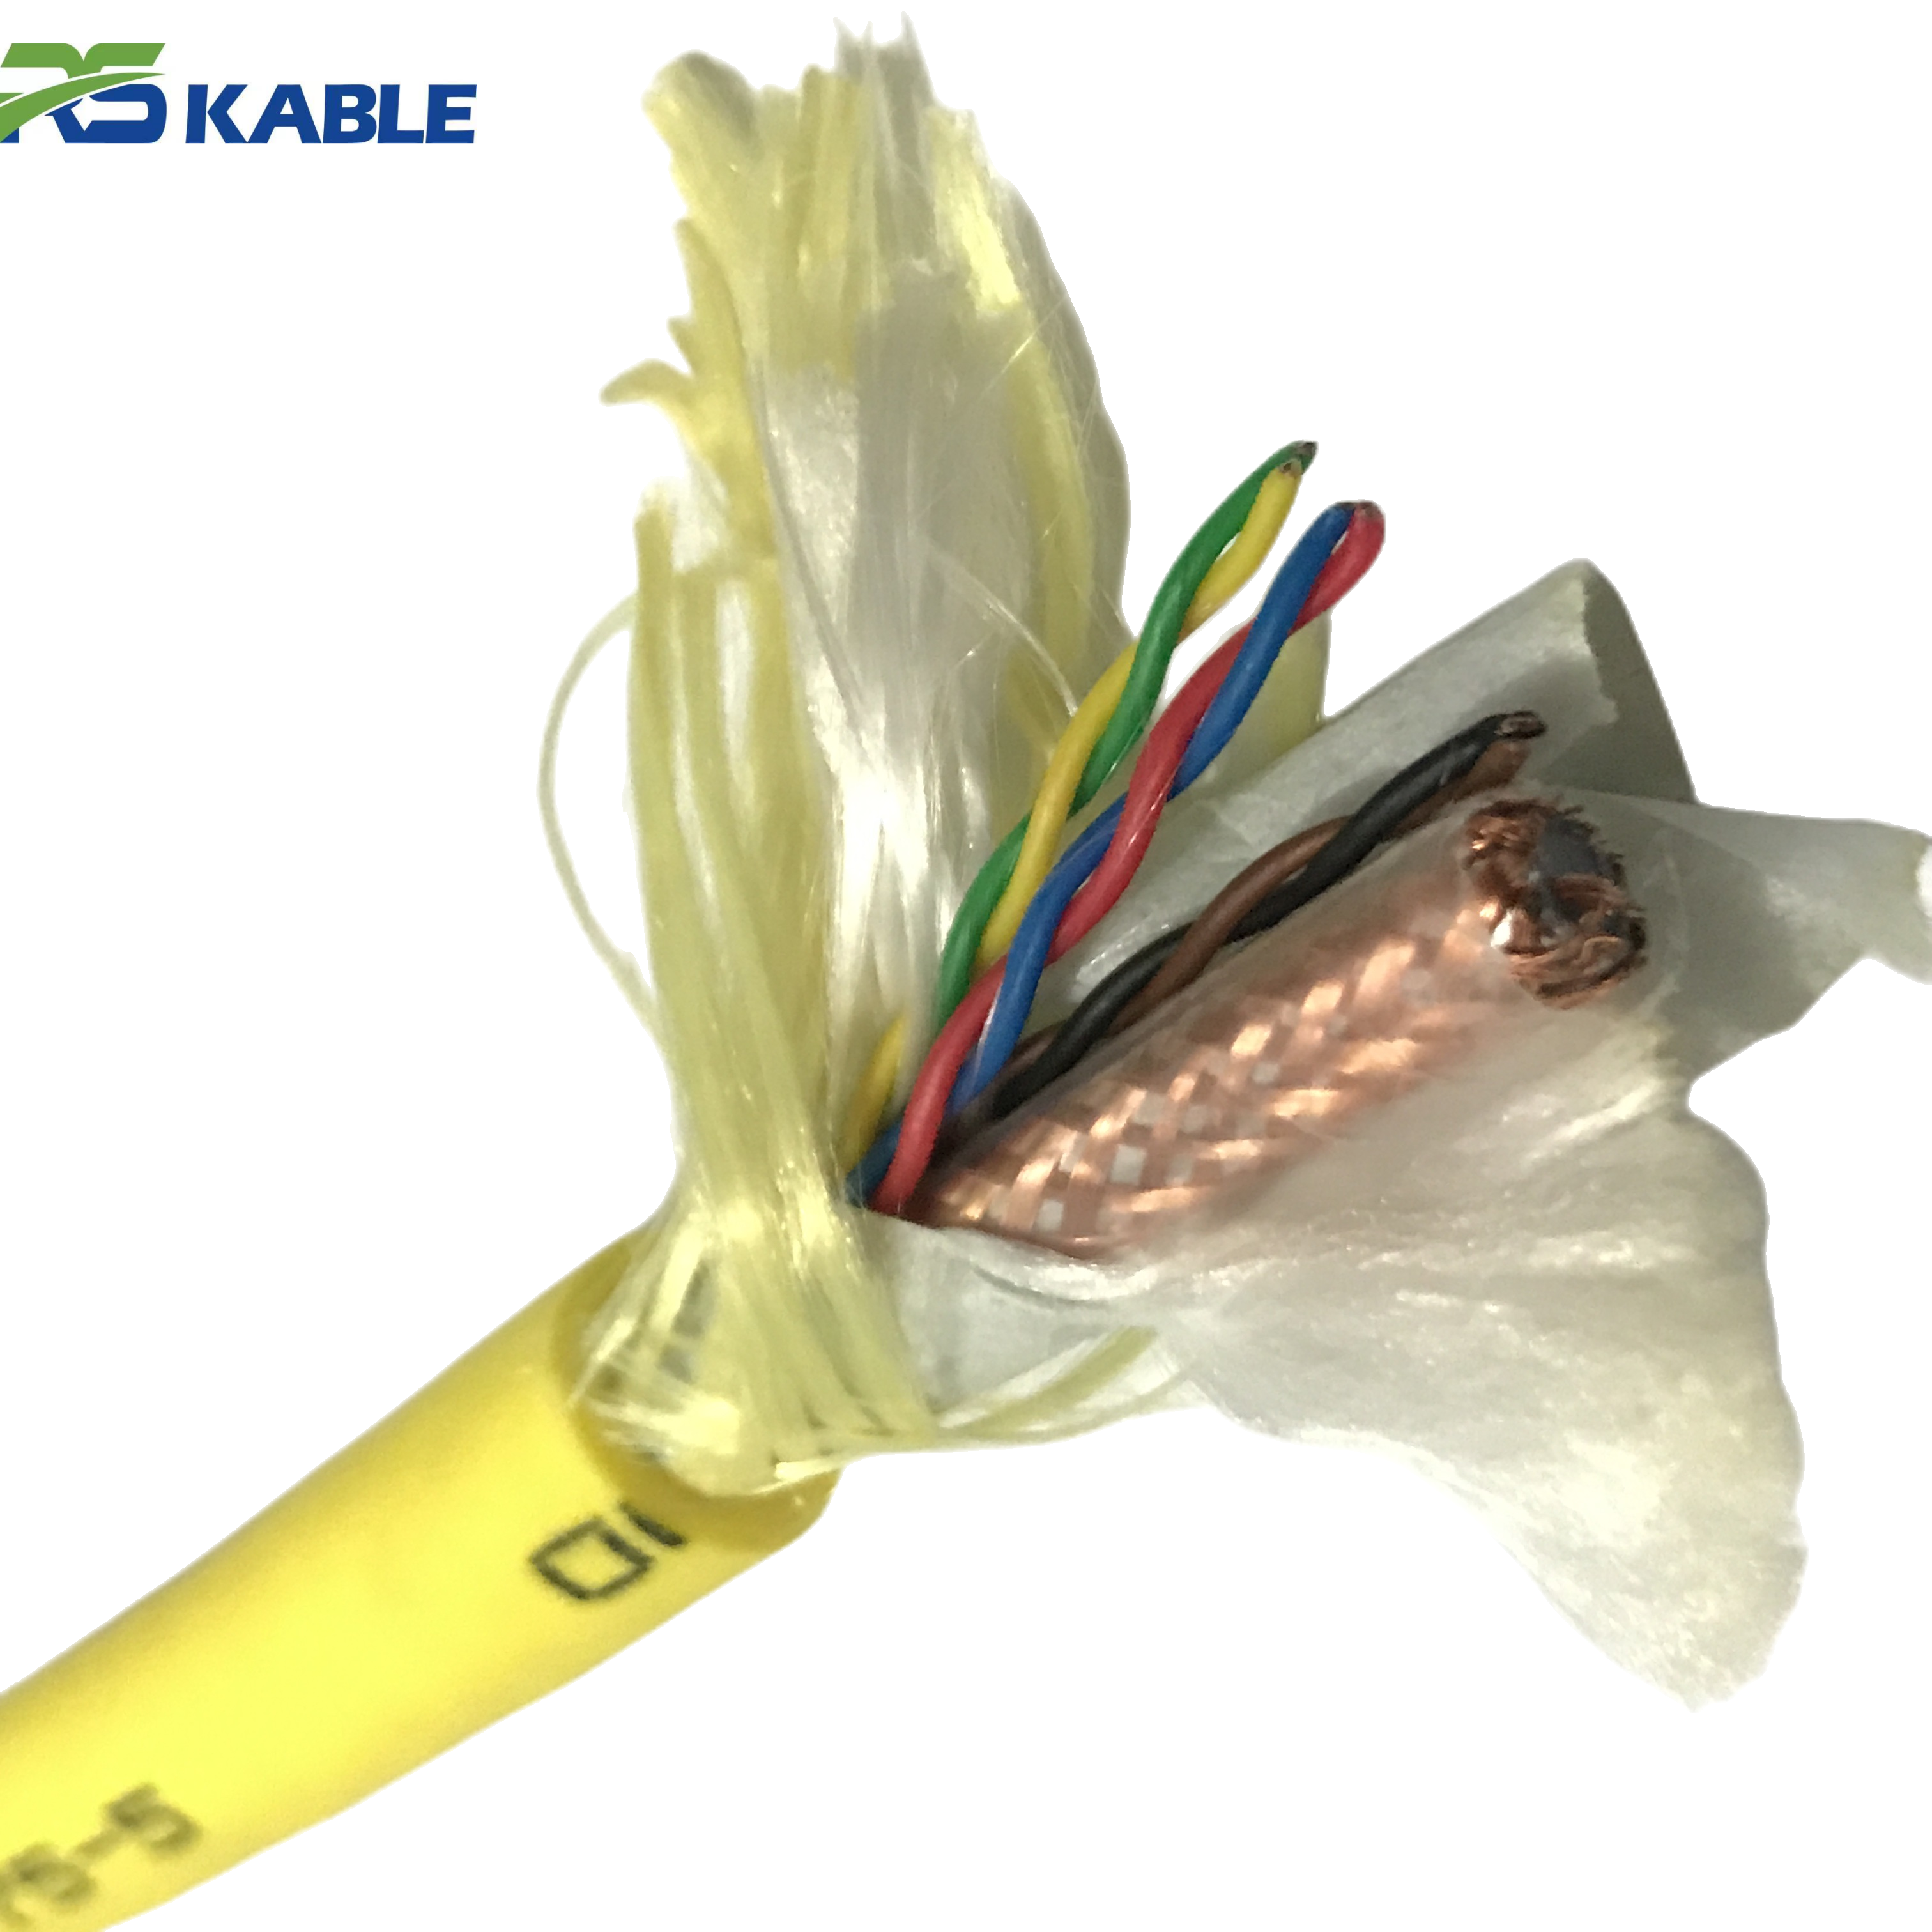
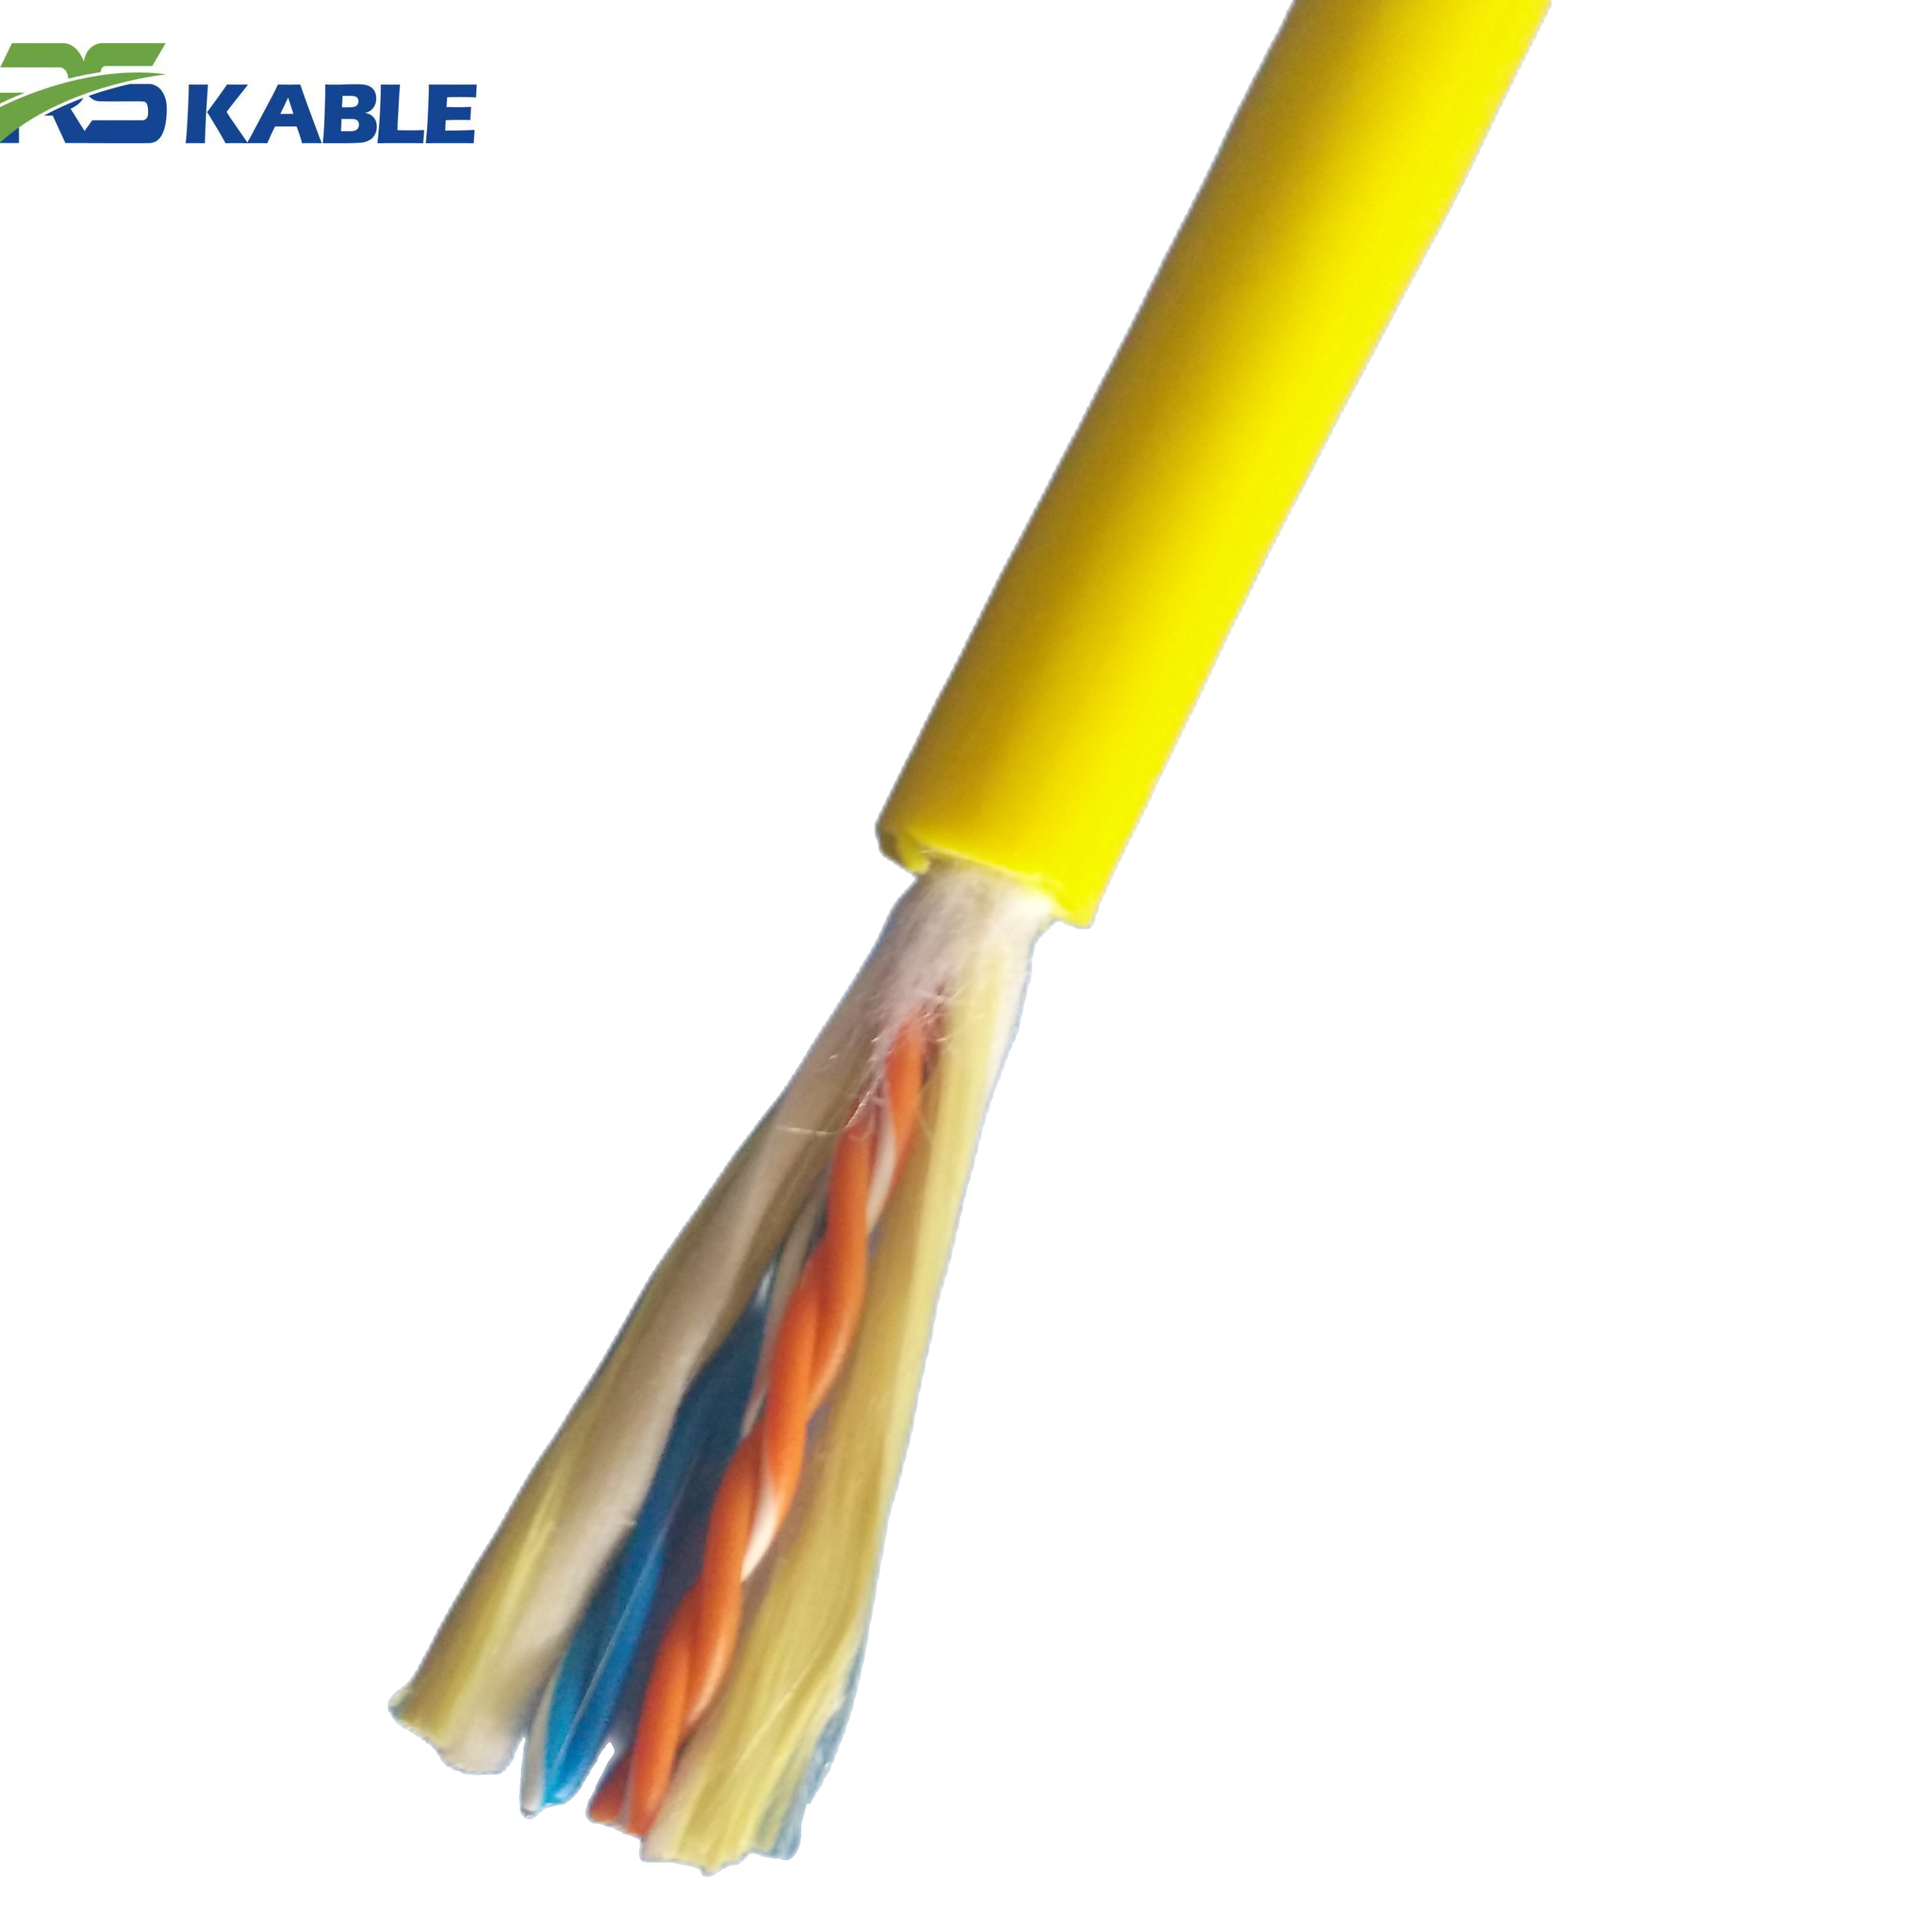
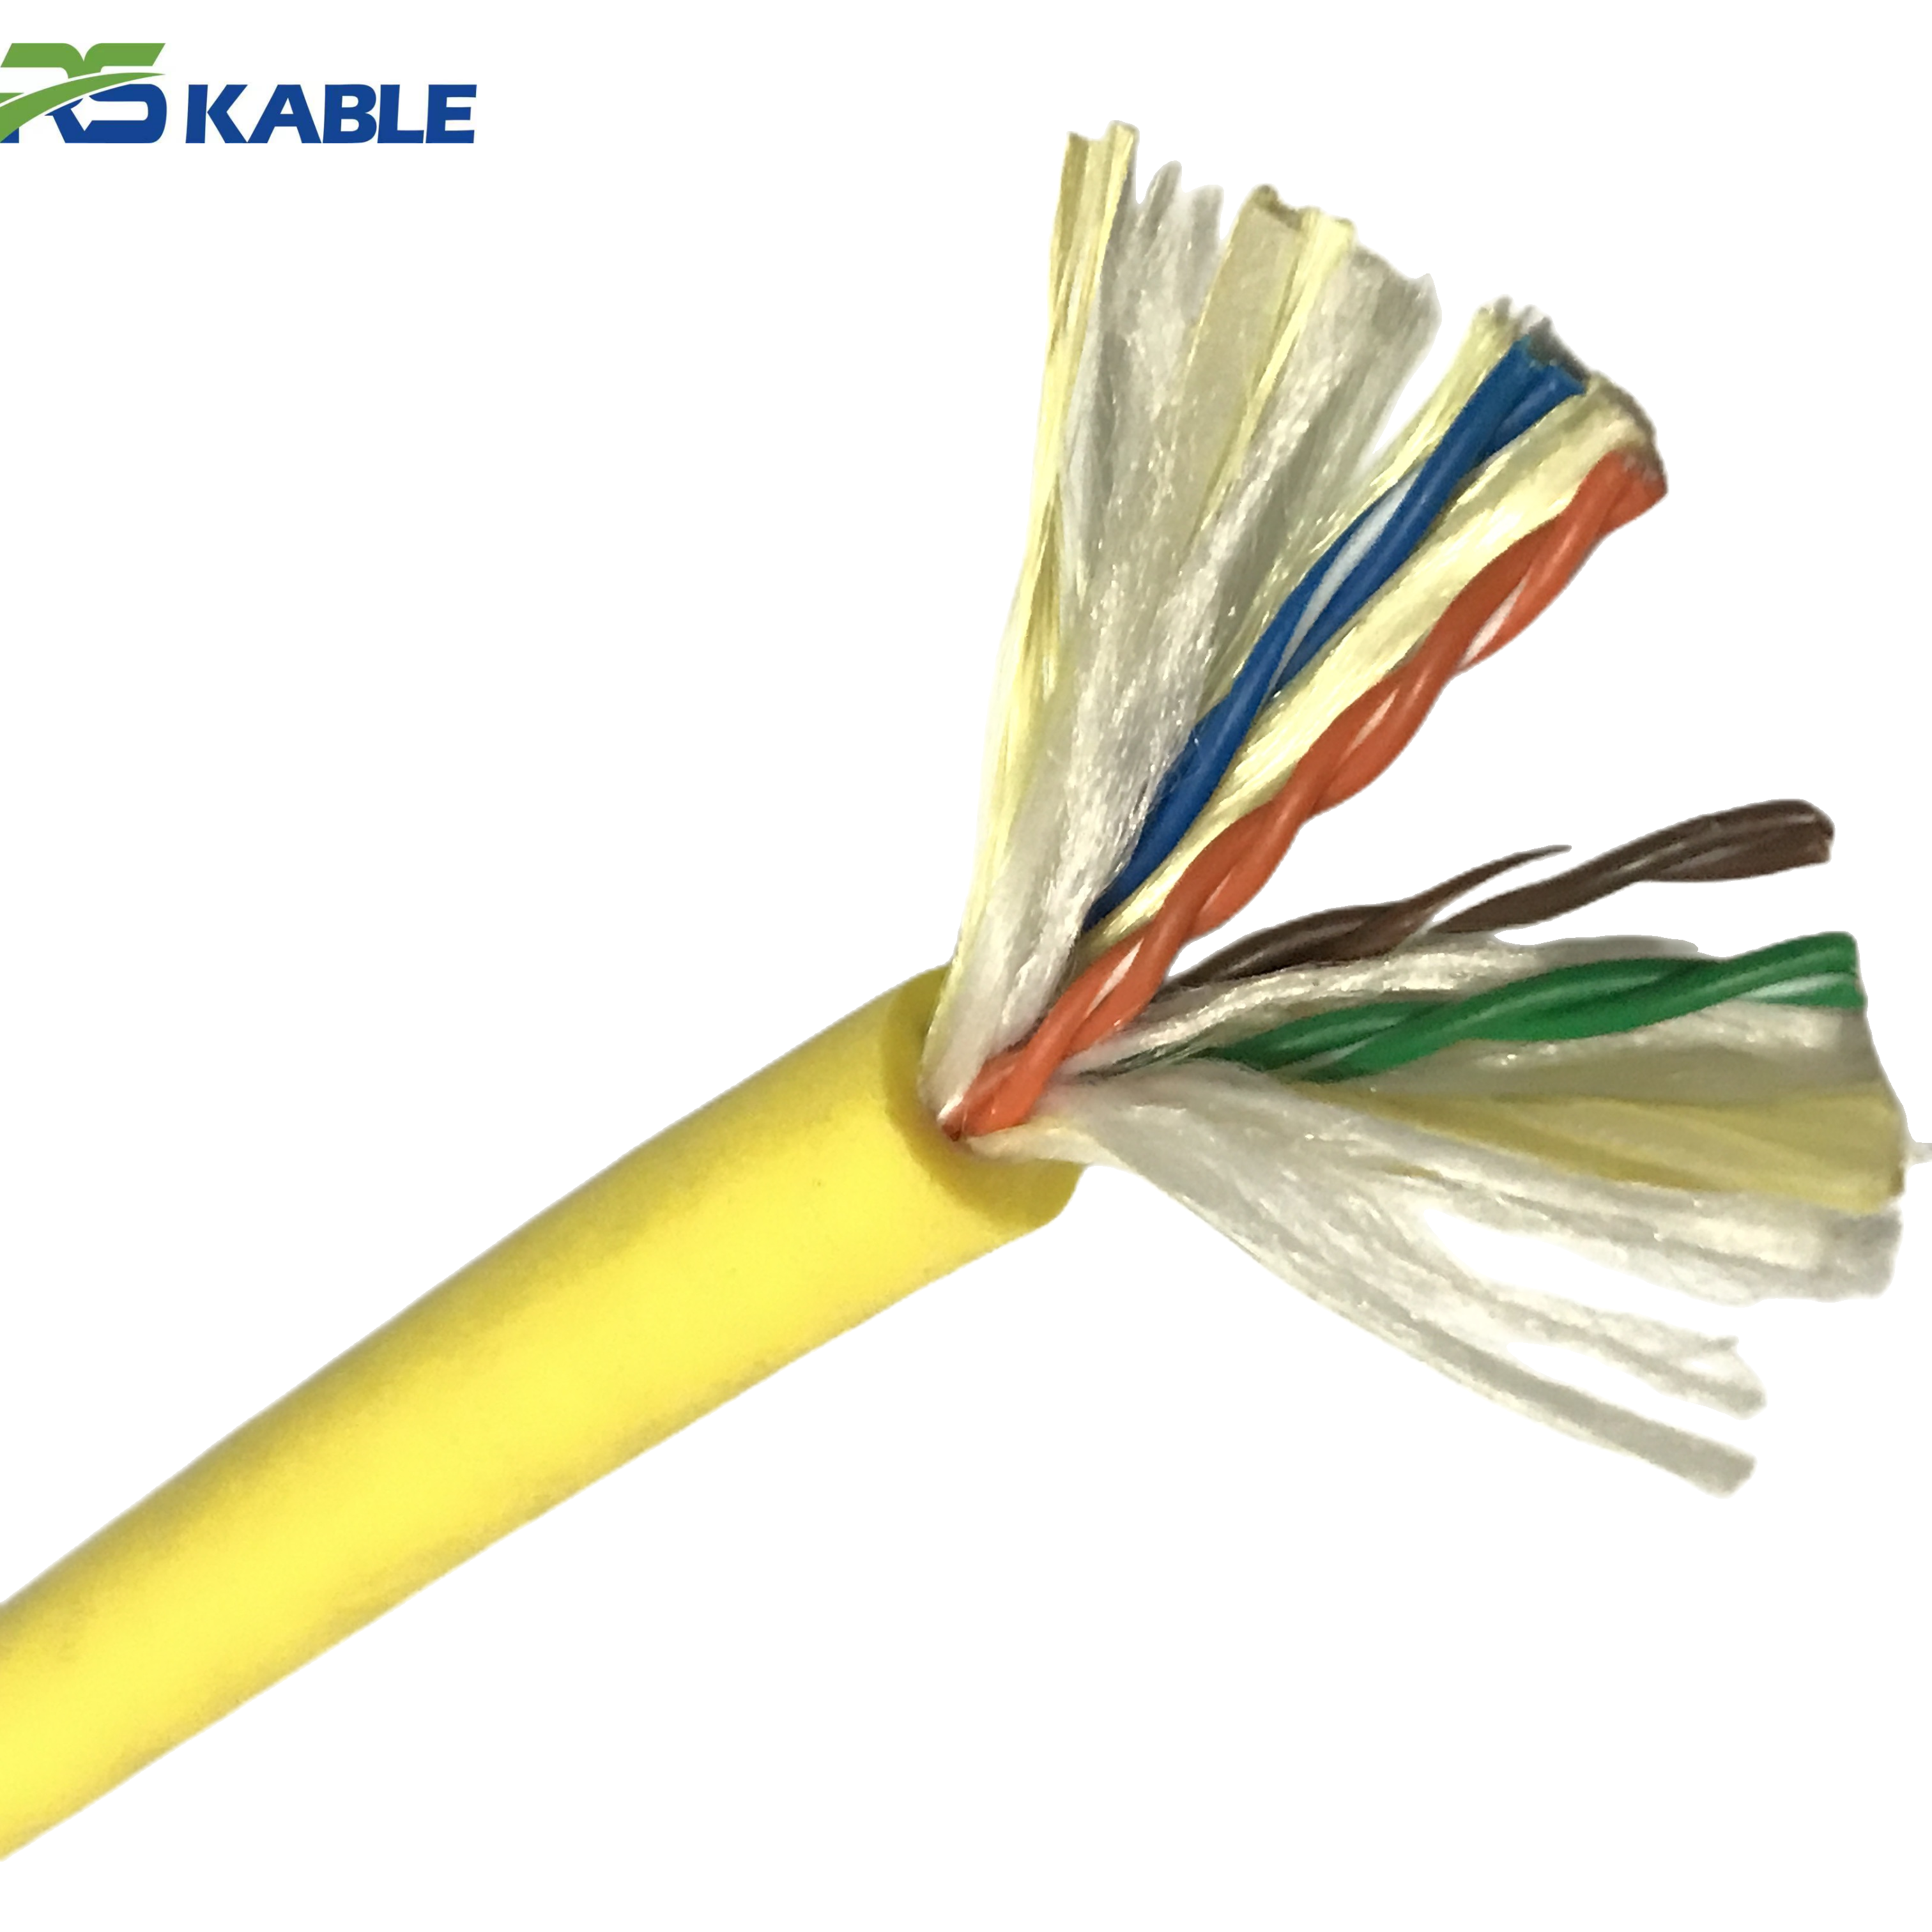
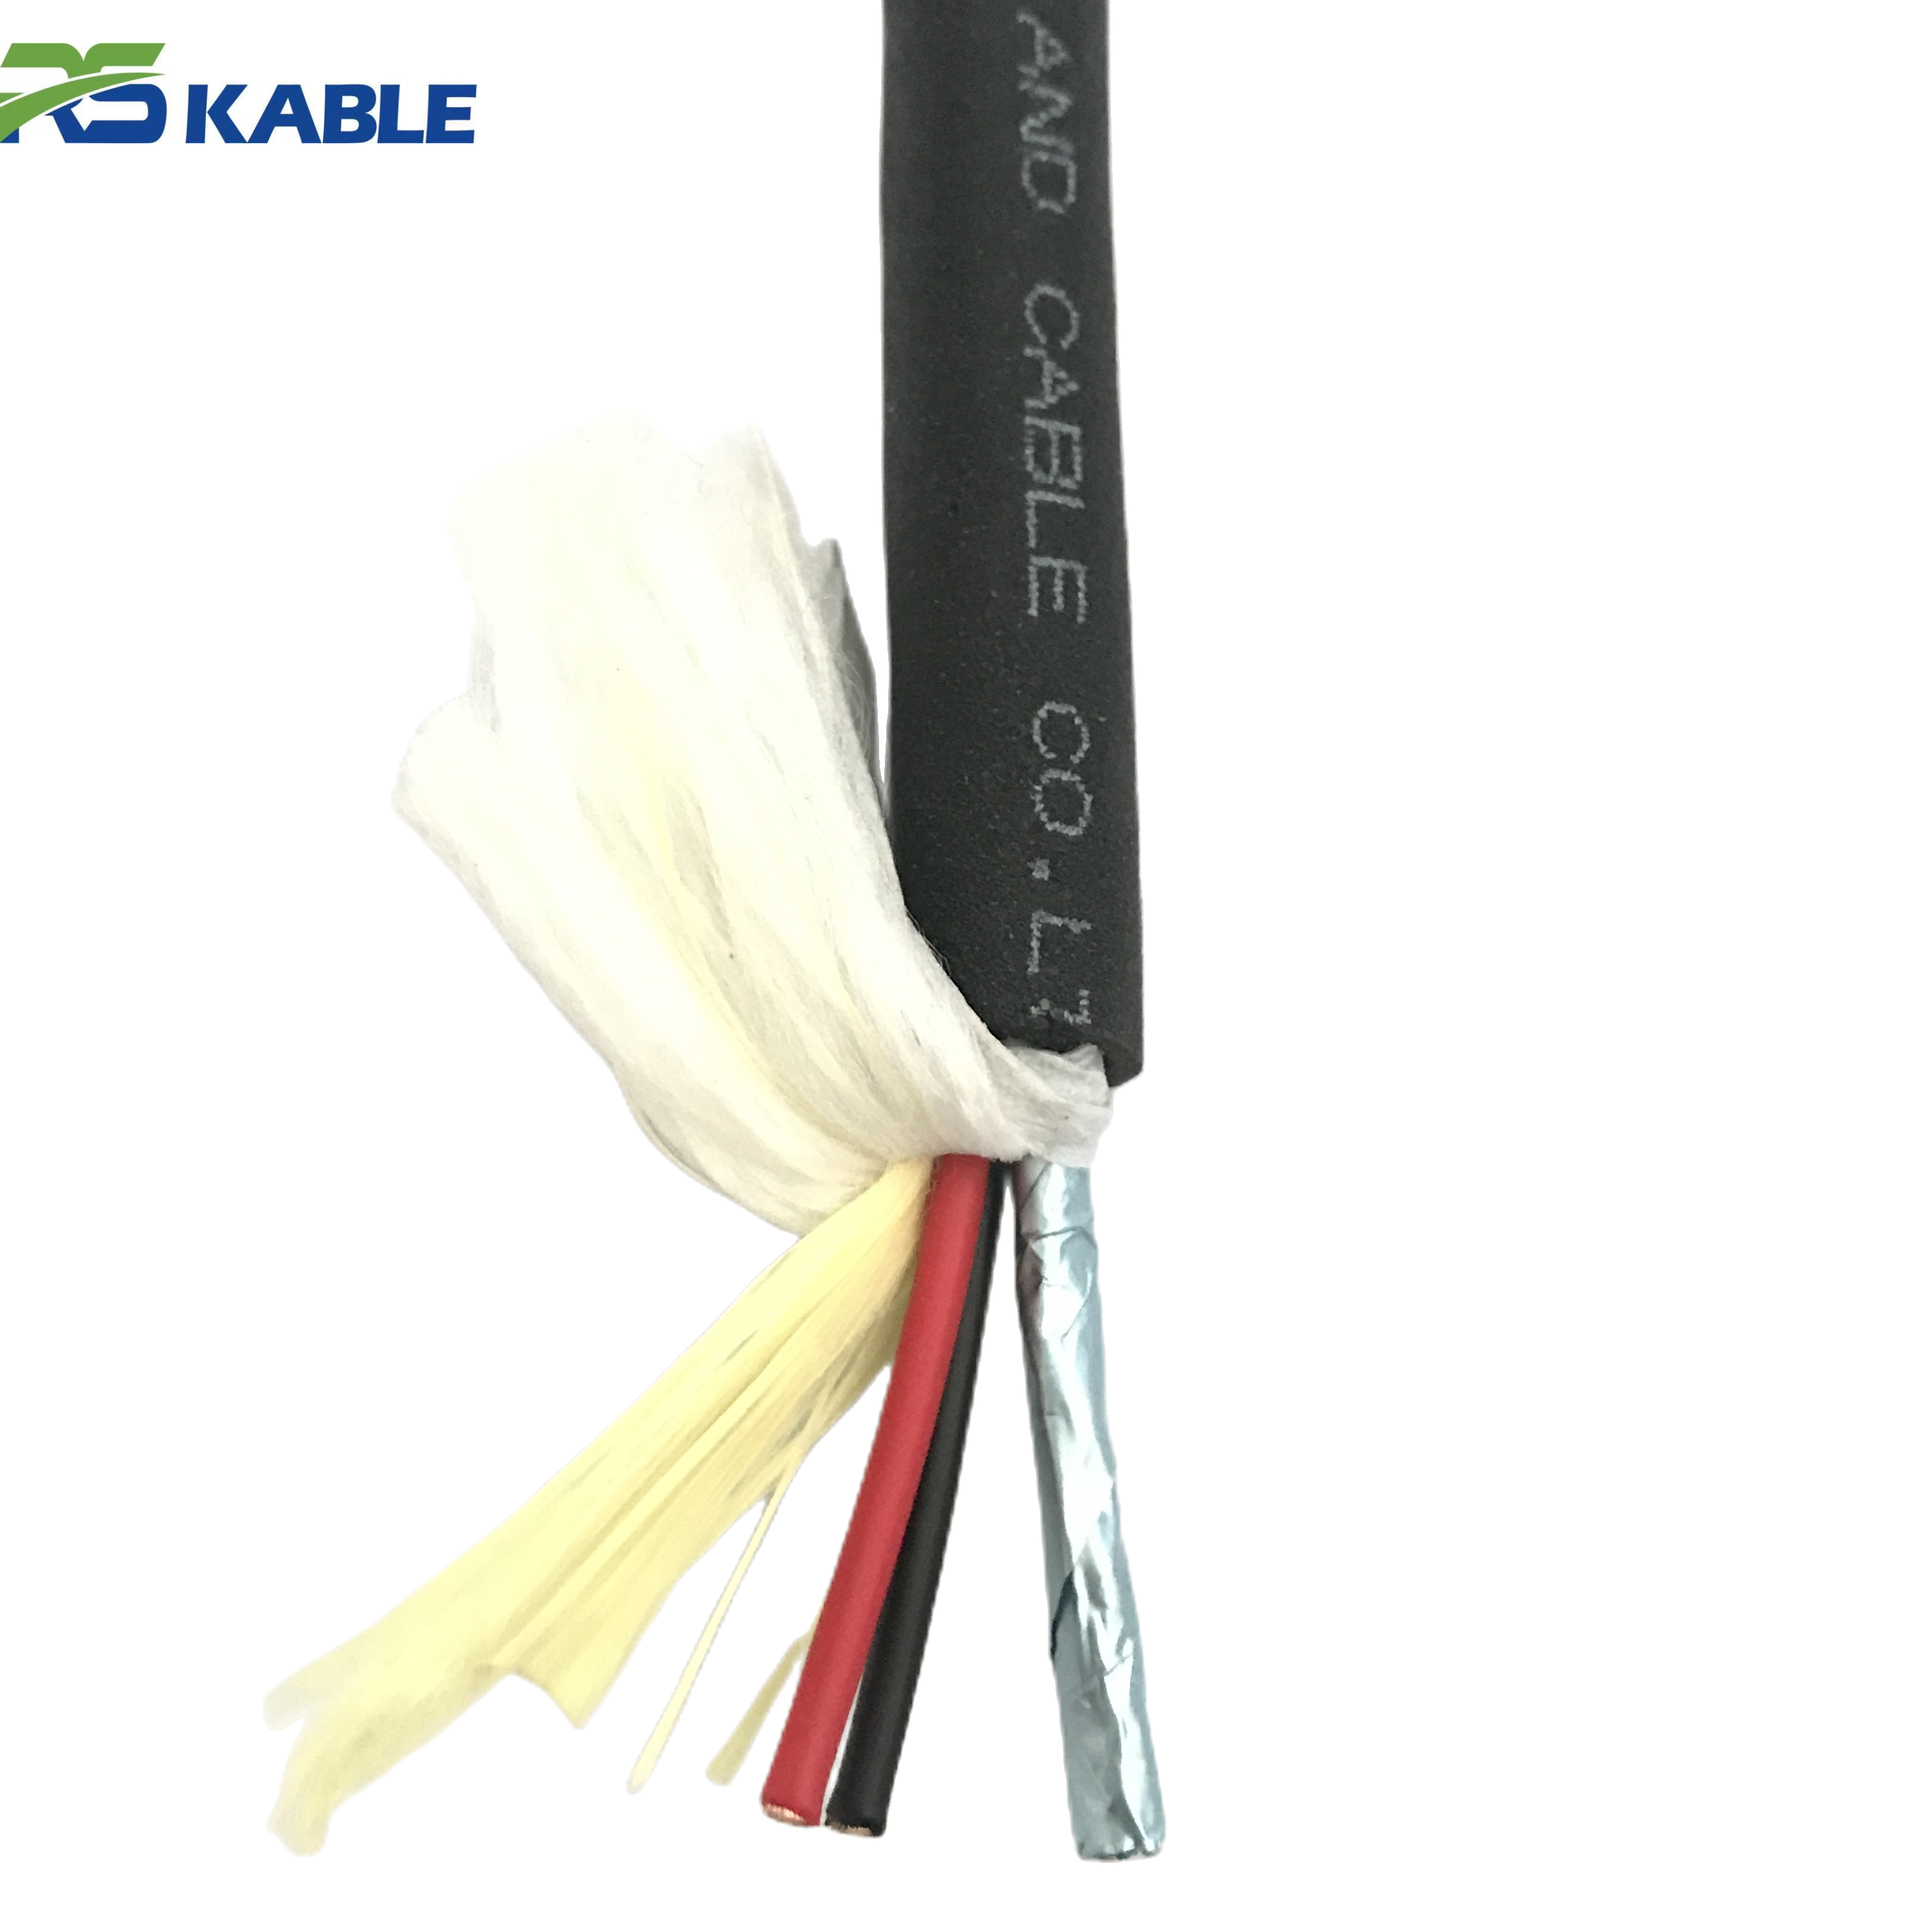
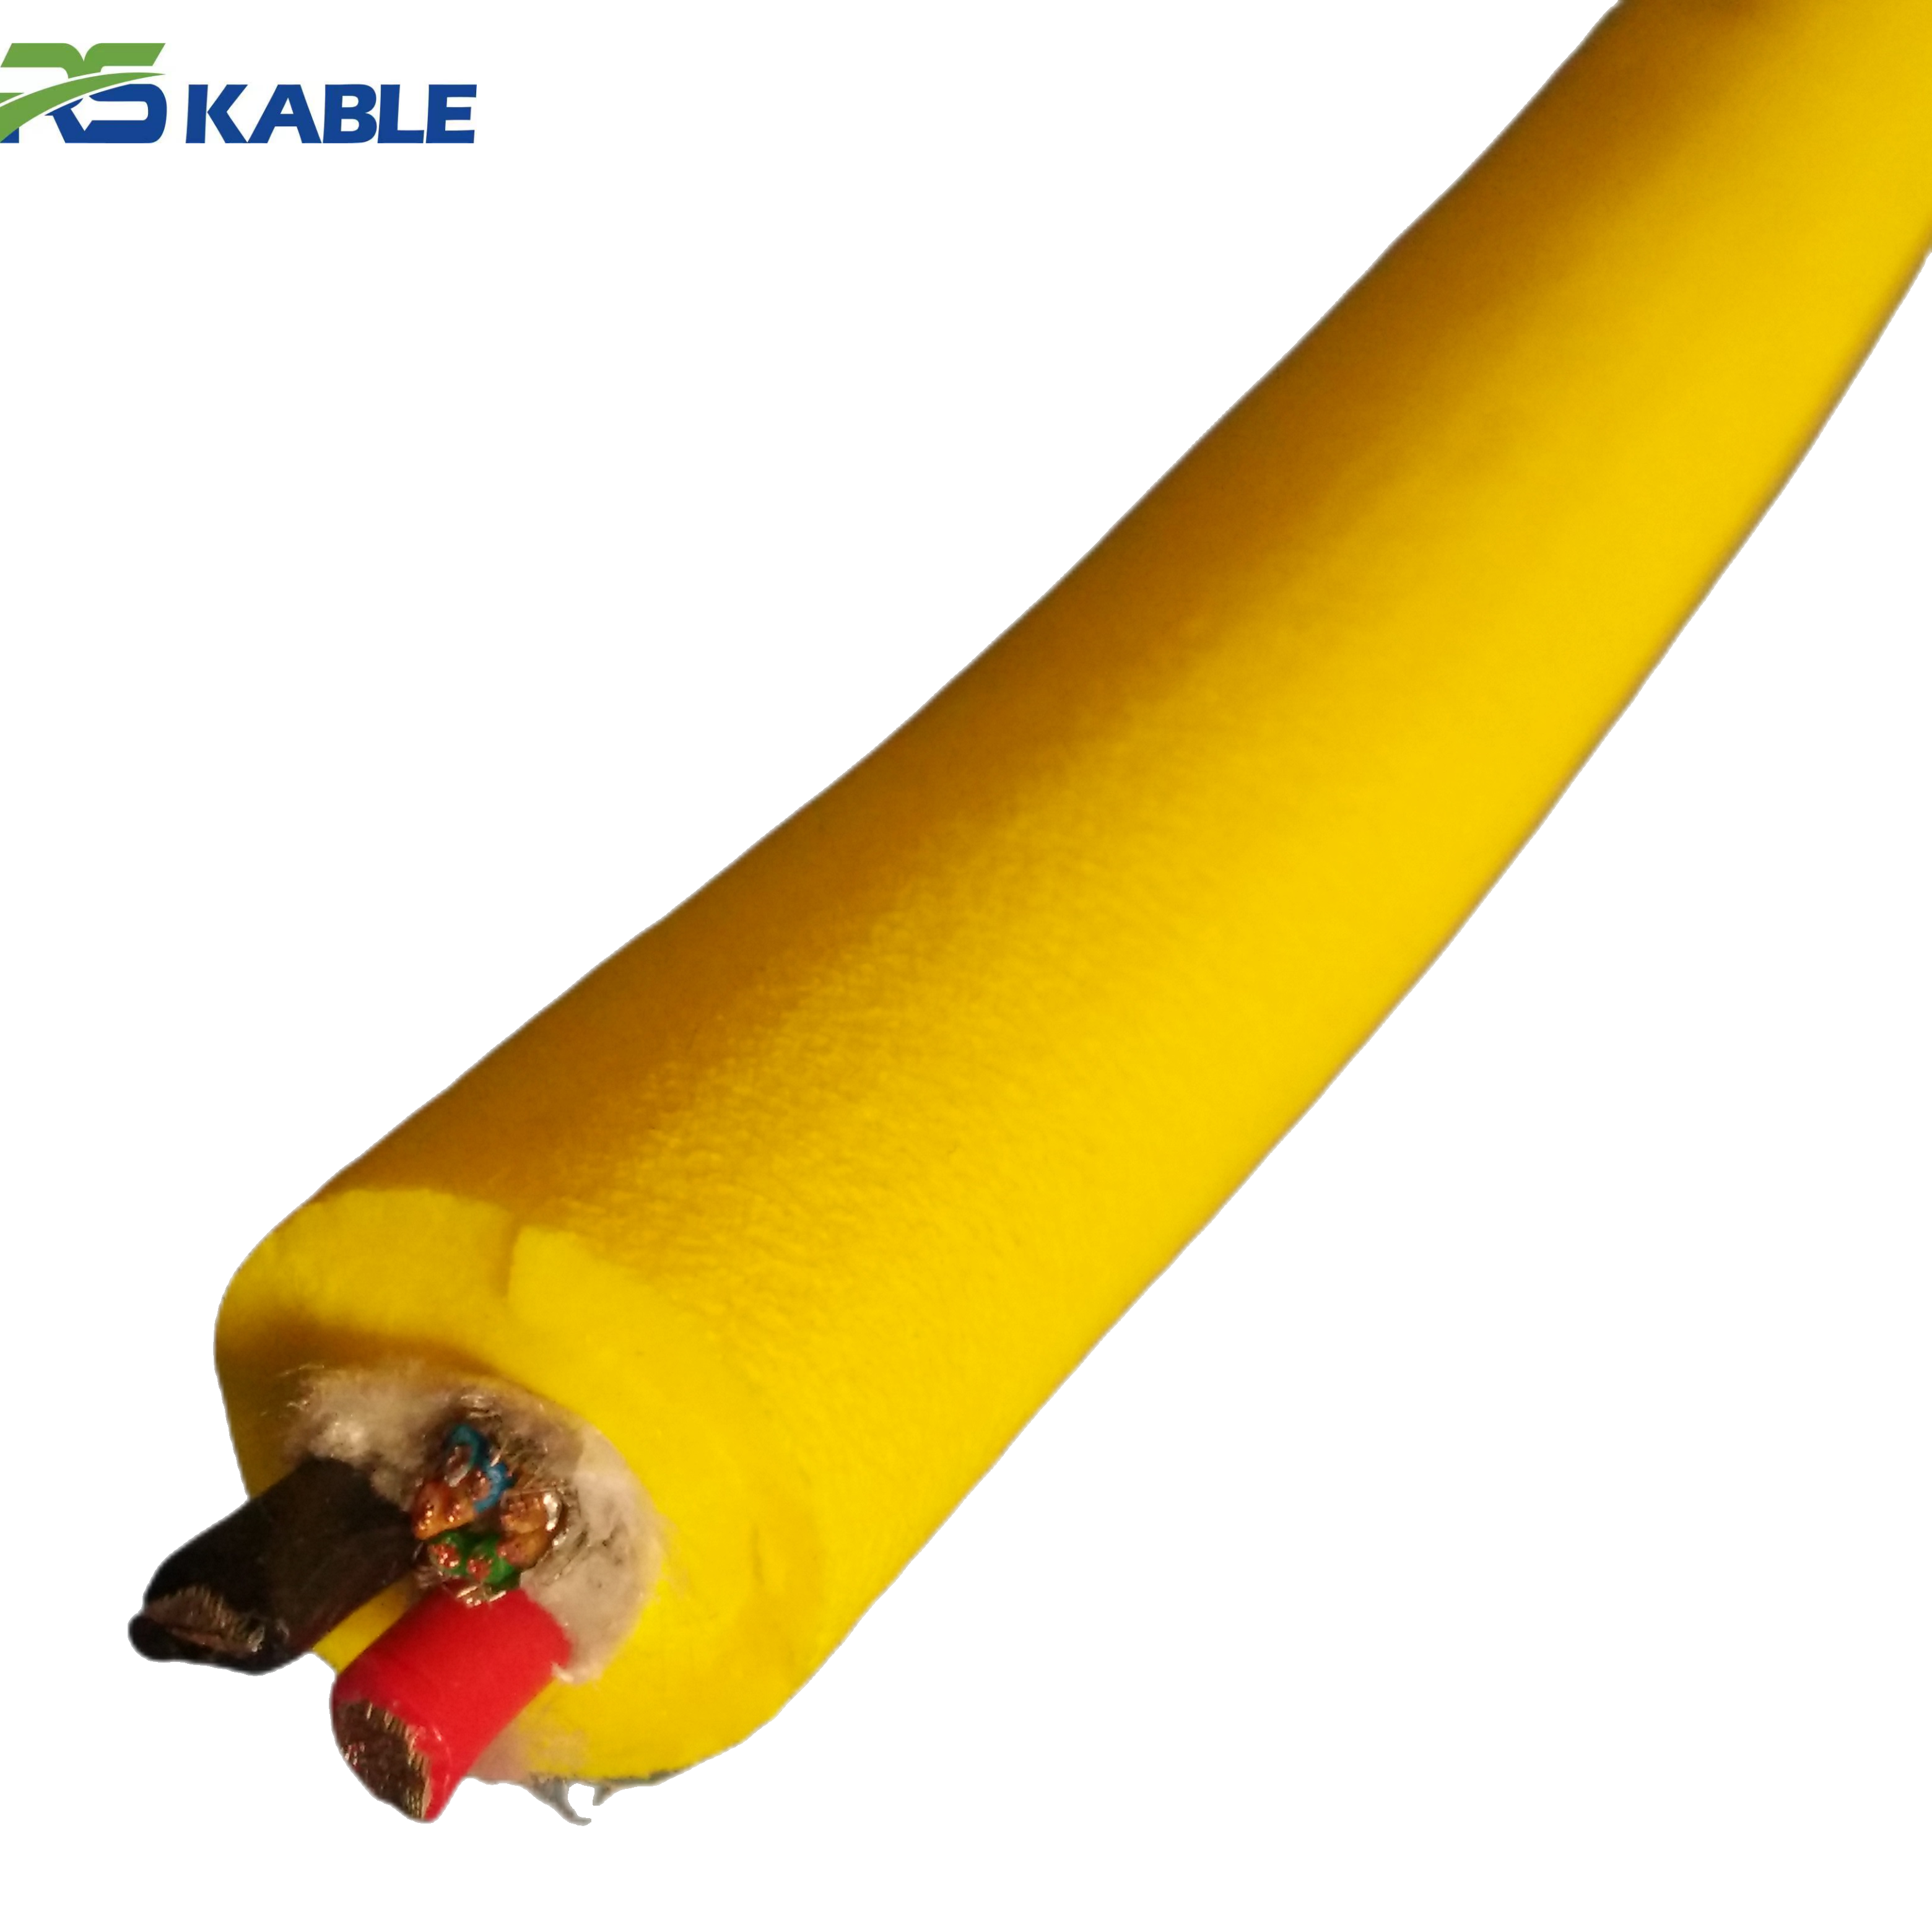
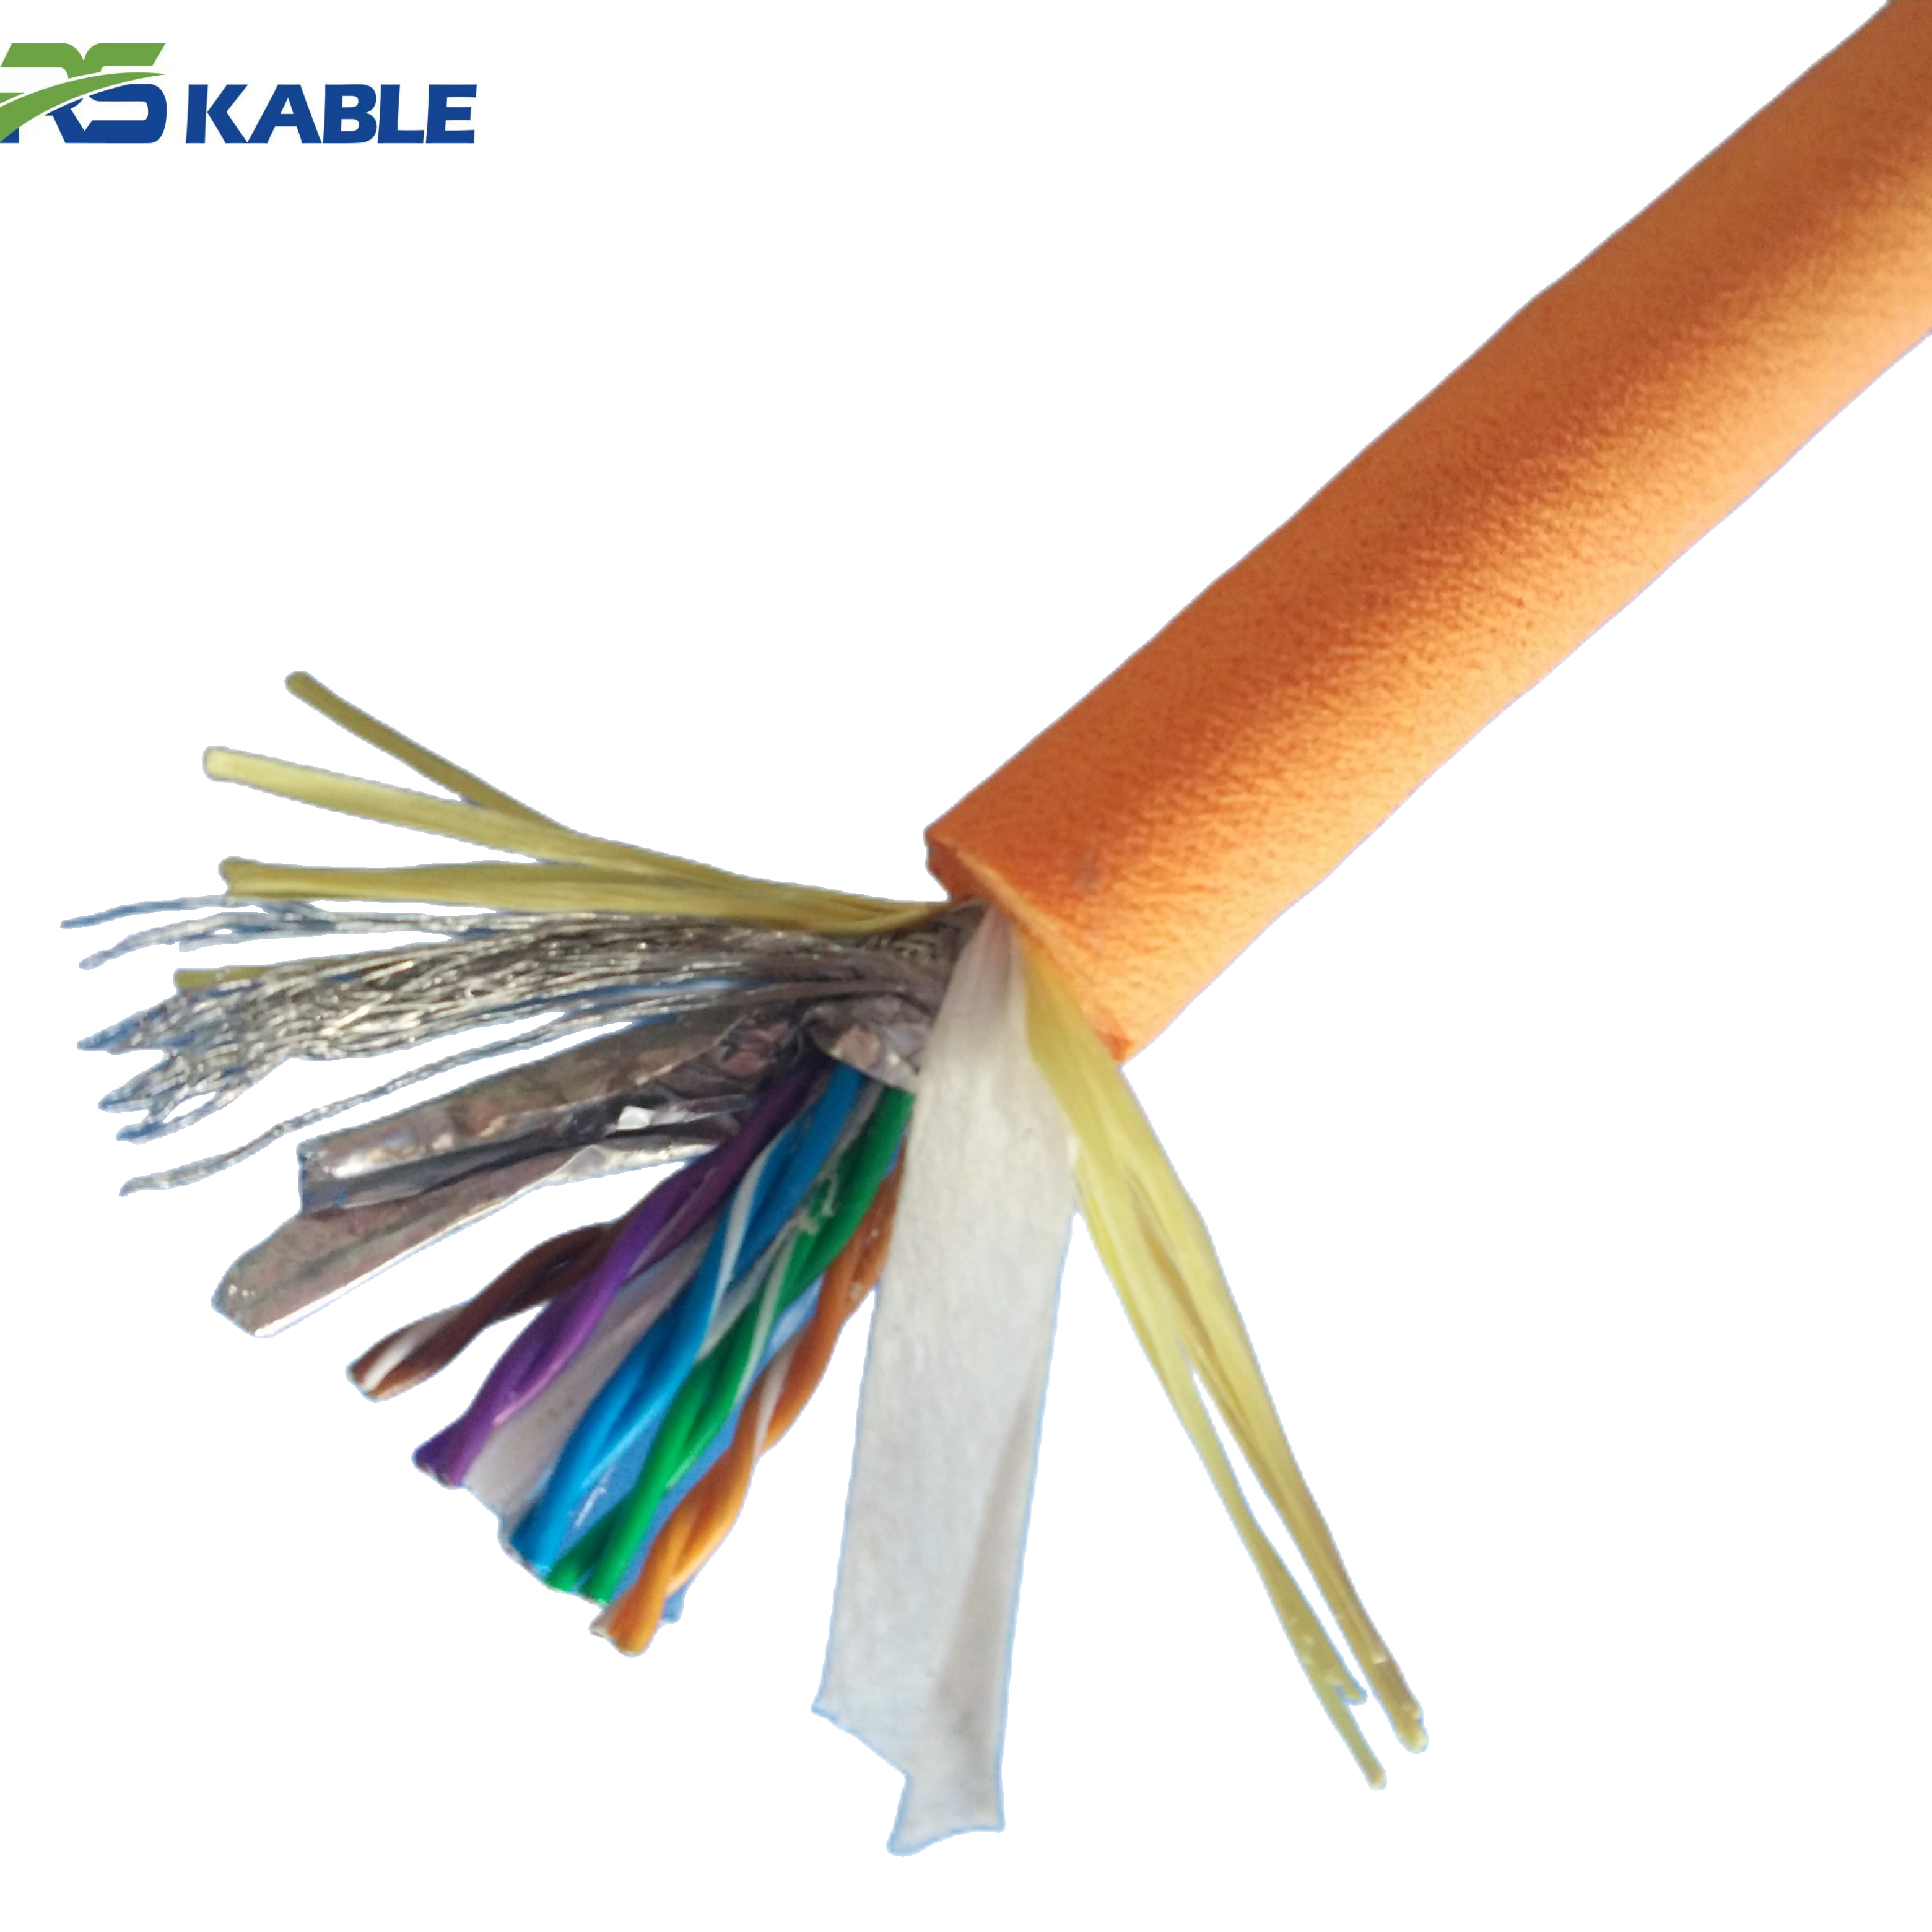
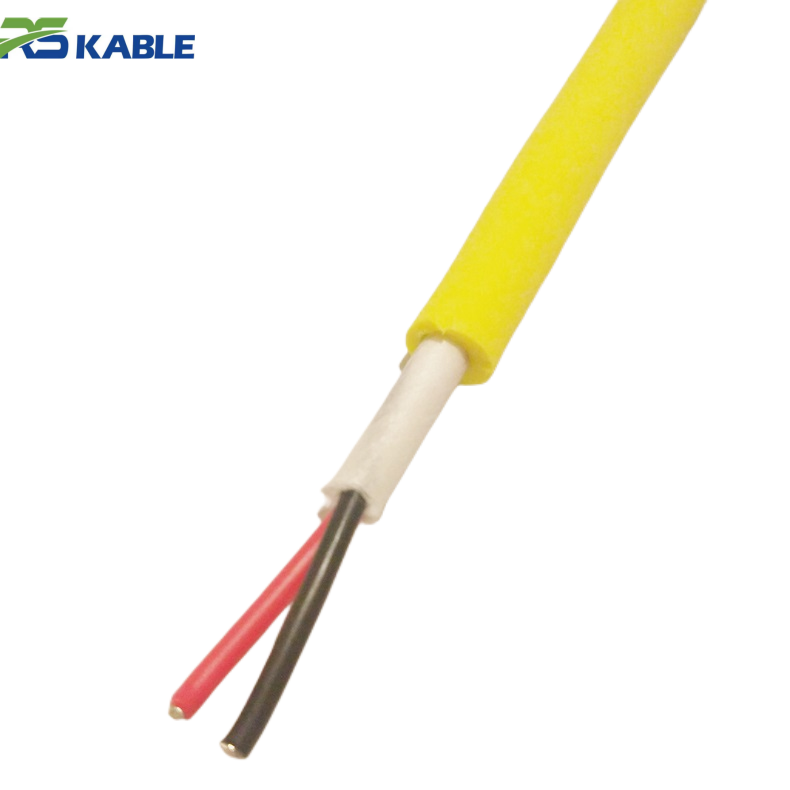
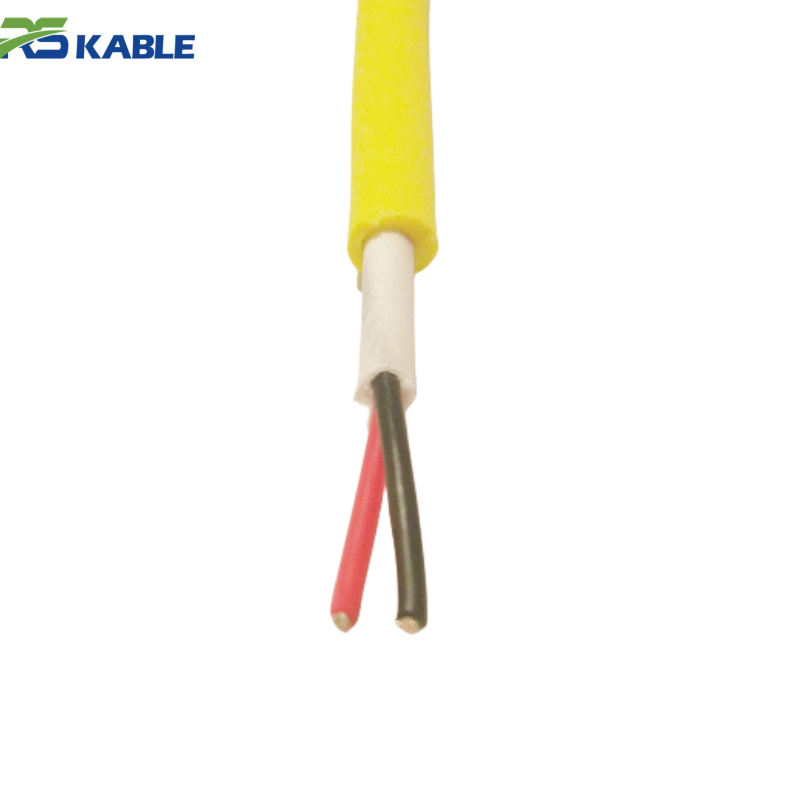
High-Flex Twisted Copper Conductor PVC ROV Cable | Flexible Subsea Robotic Power & Signal Cable
Specifically engineered for **industrial robots and subsea robotic systems**, this **high-flex ROV cable** features **finely stranded twisted copper conductors** and a durable PVC jacket. It offers exceptional flexibility for dynamic applications, ensuring reliable power and signal transmission during continuous multi-axis movements in both industrial and underwater environments.
How buoyancy changes the tether shape (and why pilots feel it)
A tether in water forms a curved path. That path governs:
-
where slack goes (down to the bottom vs suspended in the water)
-
whether the tether touches the seabed
-
how wide the tether sweeps sideways in current
-
how tension changes during turns and depth changes
Neutral buoyancy reduces the tether’s effective in-water weight, so slack is less likely to collapse into bottom loops. Negative buoyancy increases effective weight, so slack tends to drop and sag. That single difference drives most of the control outcomes.
Neutral buoyancy: when it improves control the most
Neutral buoyancy (near-neutral in real seawater) typically improves control when the mission is “close and careful.”
Best-fit control benefits
-
Cleaner station-keeping: less constant vertical correction
-
Less bottom drag: fewer friction “holding points” that cause snag/wrap events
-
More predictable turns: the tether is less likely to pivot around a bottom contact point
-
Lower pilot workload near structures: fewer tether surprises during fine maneuvers
This is why many inspection crews prefer neutral buoyancy when working around pipelines, frames, valves, and debris fields—especially when the vehicle is flown close to the seabed.
Where neutral buoyancy can backfire
Neutral buoyancy can introduce a different risk if slack control is poor:
-
slack can float into crossings and loops in shallow water
-
surface influence (waves) can “shake” a near-surface loop
-
a highly buoyant section can rise into the work envelope unexpectedly
Neutral buoyancy improves control only when tether management stays disciplined.
Negative buoyancy: when sinking behavior improves control
Negative buoyancy isn’t automatically worse. In the right conditions, it can be the more controllable option.
Best-fit control benefits
-
Cable stays down: reduced surface-loop behavior in shallow water
-
More predictable “down-set” geometry: useful when surface influence is strong
-
Simpler handling in some shallow jobs: less tendency to rise into crossings if slack occurs
Negative buoyancy can be a practical choice for open-water operations where seabed snag risk is low and the crew is strict about minimizing excess slack.
Where negative buoyancy hurts control
-
increased seabed contact and abrasion risk
-
tether “sticking” during turns because friction creates a pivot point
-
ROV feels pulled downward, reducing precision and thrust margin
-
higher probability of bottom loops forming when slack is paid out
If your job involves structure-heavy inspection, negative buoyancy often increases workload and risk.
Mission-based selection flow (fast and usable)
Use this selection flow instead of debating buoyancy in the abstract.
Step 1 — Are you working near structures or seabed most of the time?
-
Yes: bias toward neutral buoyancy (control and snag reduction)
-
No: go to Step 2
Step 2 — Is the operation shallow with strong surface influence?
-
Yes: consider slightly negative to reduce surface-loop risk
-
No: go to Step 3
Step 3 — Is current the dominant control challenge?
-
Yes: buoyancy helps, but diameter/drag may matter more than buoyancy alone
-
No: go to Step 4
Step 4 — What’s the main failure you’re trying to stop?
-
Dragging/scuffing/snags: neutral buoyancy + slack discipline usually wins
-
Loops/crossings near surface: slightly negative + strict slack control often wins
In many real projects, the “best” solution is near-neutral rather than perfectly neutral or strongly negative.
Field trigger cues: what your operation is telling you
These cues reveal whether your buoyancy choice is helping or hurting.
Signs you are too negative for the mission
-
jacket scuffing appears quickly and repeatedly
-
tether “sticks” during turns near structures
-
the ROV needs constant lift correction
-
snag frequency increases during heading changes
-
bottom loops are visible during maneuvering
Signs you are too buoyant for the mission
-
loops form behind the vehicle in shallow water
-
crossings appear during turns because slack rises
-
the tether rises into the work envelope unexpectedly
-
surface motion seems to influence tether behavior
When these cues repeat job-to-job, changing buoyancy strategy usually produces a bigger improvement than changing piloting technique.
A control-focused cost rule (how to avoid overspending)
The most common mistake is buying buoyancy without controlling drag.
A neutral buoyancy tether that is oversized in diameter can still be hard to control in strong currents because drag expands the sweep zone. In current-driven missions, the best control often comes from this combination:
-
controlled buoyancy behavior
-
diameter/drag kept as low as practical
-
predictable strain relief and bend management near terminations
-
disciplined payout (slack is the real loop generator)
If control is your primary goal, specify behavior and drag constraints together when selecting an ROV Cable.
Simple verification steps before deployment (no lab required)
Before committing to a new tether or a new buoyancy strategy, do three practical checks:
-
Consistency check along length
Pay out a meaningful section and confirm no obvious “heavy segment” or “rising segment.” Inconsistency creates unpredictable handling. -
Slack behavior observation
With controlled slack, observe whether the tether collapses into bottom loops (too negative) or rises into crossings (too buoyant). This predicts the dominant risk. -
Routing and bend check near terminations
Confirm that deck routing and strain relief do not create a fixed tight bend right behind the connector. Many “control issues” are actually termination fatigue issues waiting to happen.
These steps help ensure the ROV Cable behaves as expected offshore.
Practical pairing strategies (what works in common missions)
Precision inspection near pipelines/frames
-
near-neutral buoyancy
-
strict slack control
-
abrasion protection in known contact zones
-
focus on reducing sweep zone in current
Shallow water in current with wave influence
-
near-neutral or slightly negative depending on loop risk
-
minimize slack; avoid large arcs near surface
-
prioritize diameter/drag control
Open water survey with low snag risk
-
slightly negative can be acceptable
-
maintain good payout discipline
-
prioritize stable geometry over perfect neutrality
These patterns show why a single “best” answer doesn’t exist; mission context decides.
FAQ
Is neutral buoyancy always better for control?
No. It’s often best for precision inspection near structures, but shallow wave-influenced jobs may prefer slightly negative behavior to reduce looping risk.
Why do negative buoyancy tethers snag more around structures?
Because sagging slack forms bottom loops and creates friction points. Turns can tighten those points into wraps.
Can neutral buoyancy cause entanglement?
Yes—if slack rises and crosses itself in shallow water. Neutral buoyancy still requires disciplined payout control.
What matters more in strong currents: buoyancy or diameter?
Often diameter/drag. A thick cable can sweep widely regardless of buoyancy and make station-keeping harder.
What should I specify in an RFQ for better control?
Target in-water behavior (near-neutral or slightly negative), consistency along length, maximum preferred diameter, bend radius, and termination strain relief.